
You can also move the props freely around the room and use
them for your shoot. The sizes and colours of cones, cylinders,
balls and boxes can also be adjusted, enabling new shapes or
structures to be created.
The quick menu
When you click on an object in the studio area, two icons appear
to help you position the object.
![]()
Adjust height – Click on the icon and drag with pressed left
mouse button to change the height.
![]()
Rotate model – Click on the icon and drag with pressed left
mouse button to rotate the model.
Basic forms
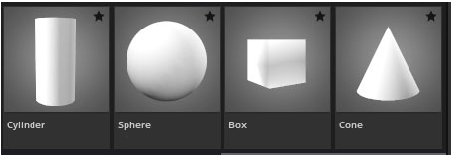
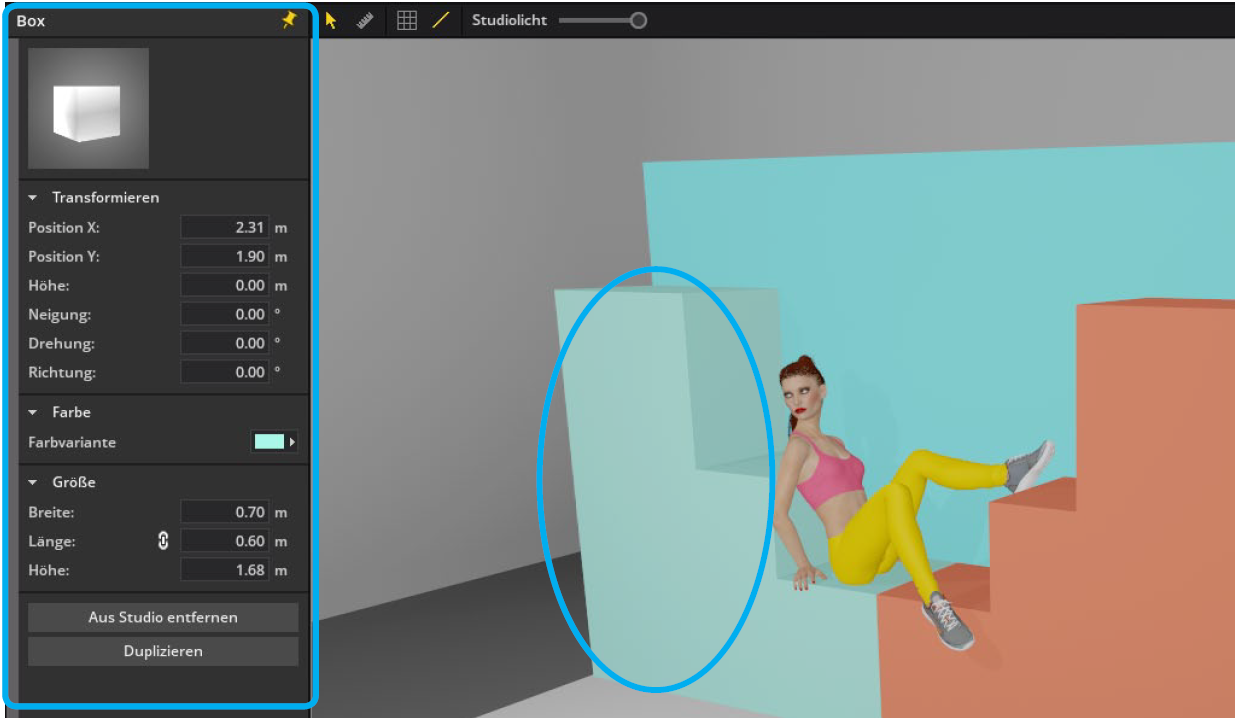
Cone, cylinder, ball and box can
also be freely adjusted in dimensions
and color, so that new shapes
or superstructures can be created.
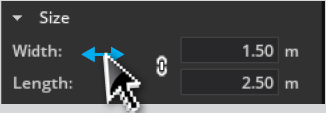
Drag option:
To change a value smoothly, click with
the mouse on the respective name
and drag to the left or right with pressed mouse button.
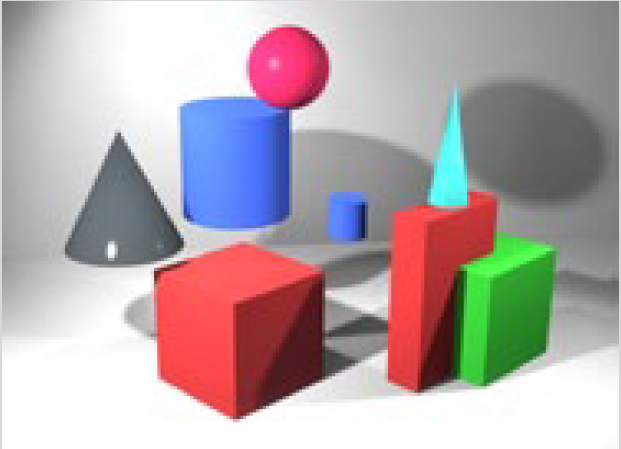
Tip: By “mingling” various basic shapes,
objects for test images can be quickly built,
rooms changed or clothes modified.
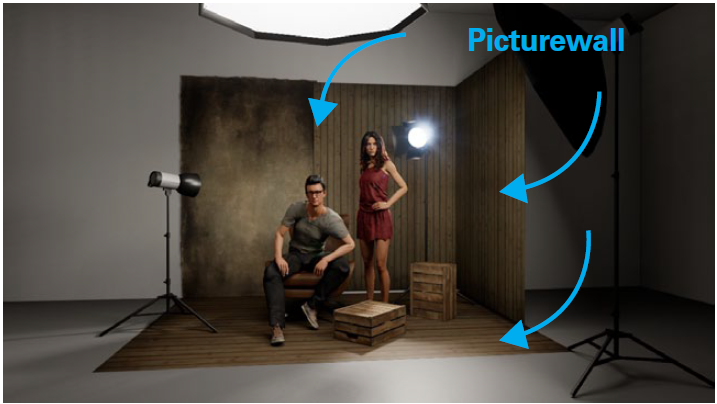
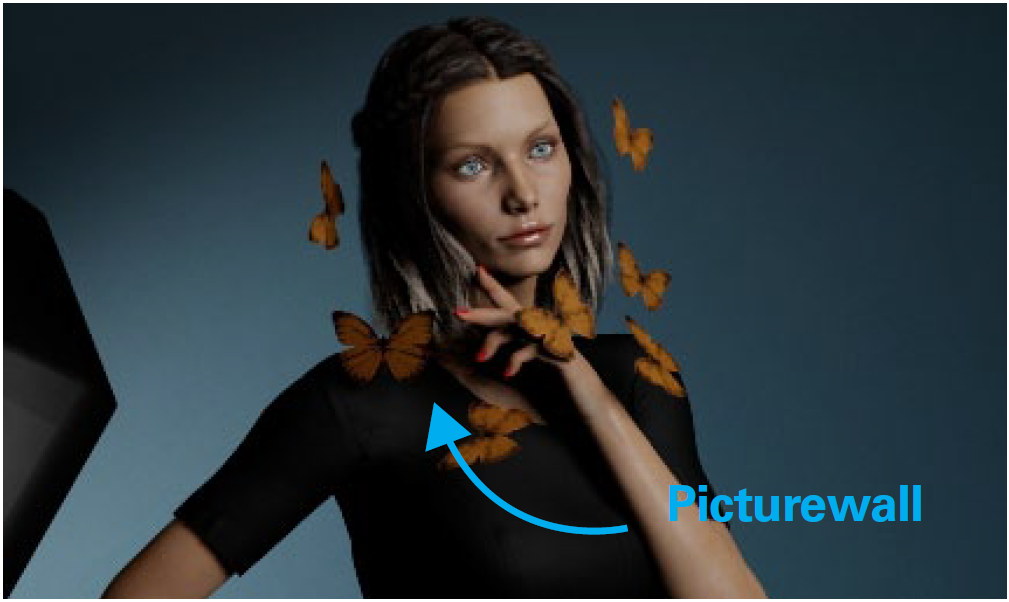
 Picturewall
You can find the Picturewall in the Studio Library under
the tab Props. By clicking on Picture Presets you can
choose from some image templates or you can import
you own images.
The picturewall can help you in the following situations:
- If you want to add a picture as background or floor to your setup
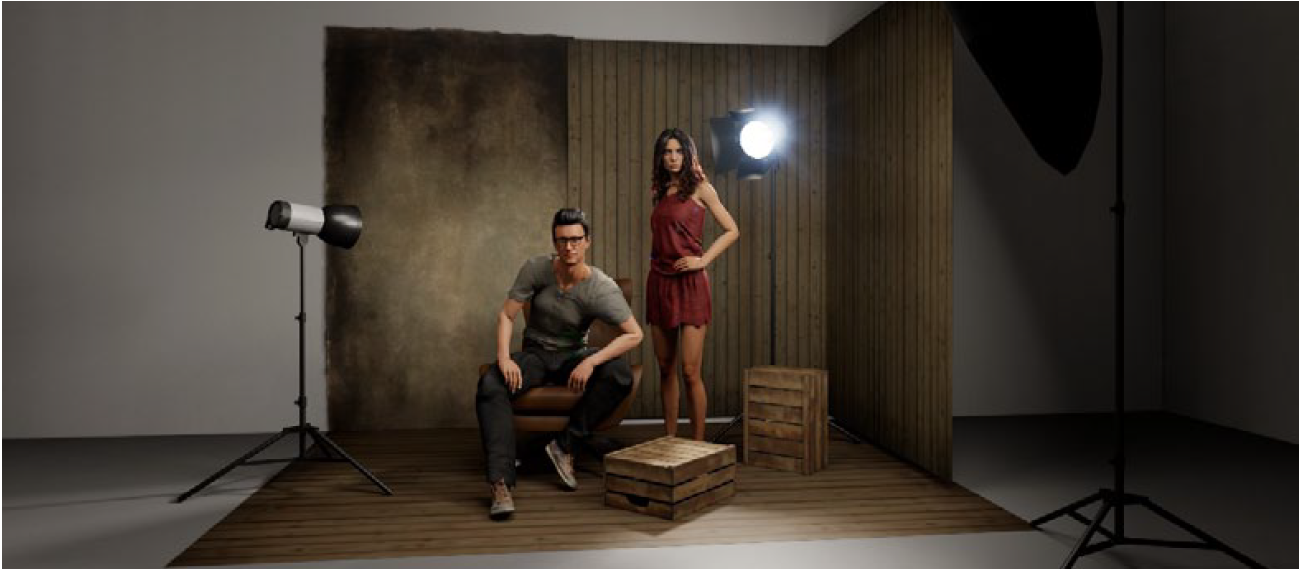
- If you want to place masked objects in your set
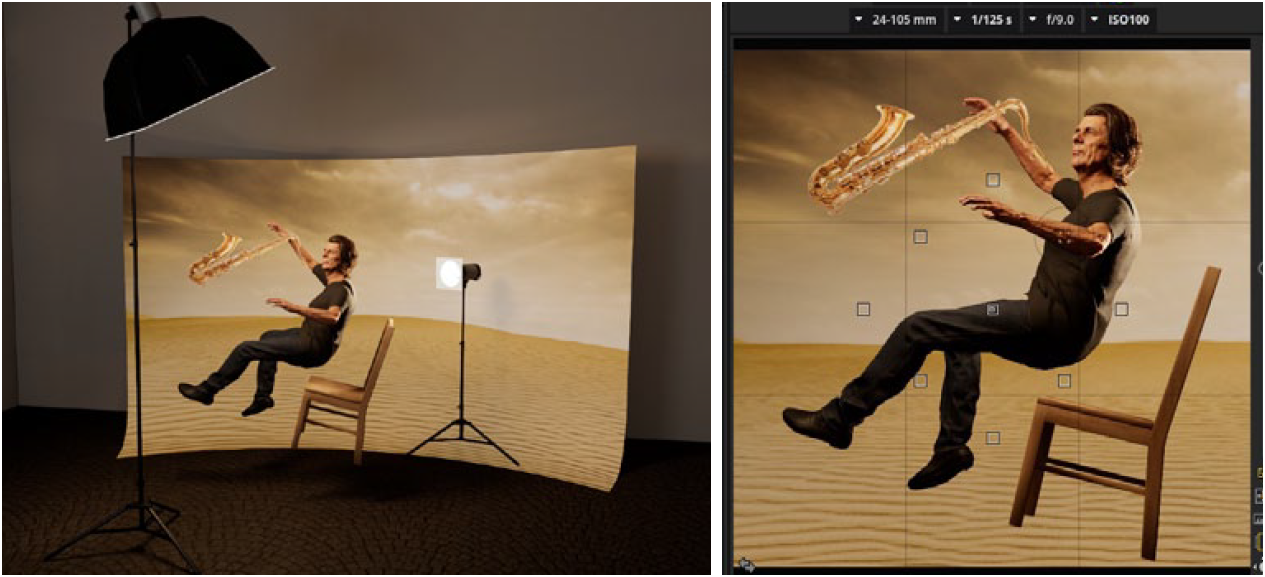
- If you want to simulate an outdoor setup
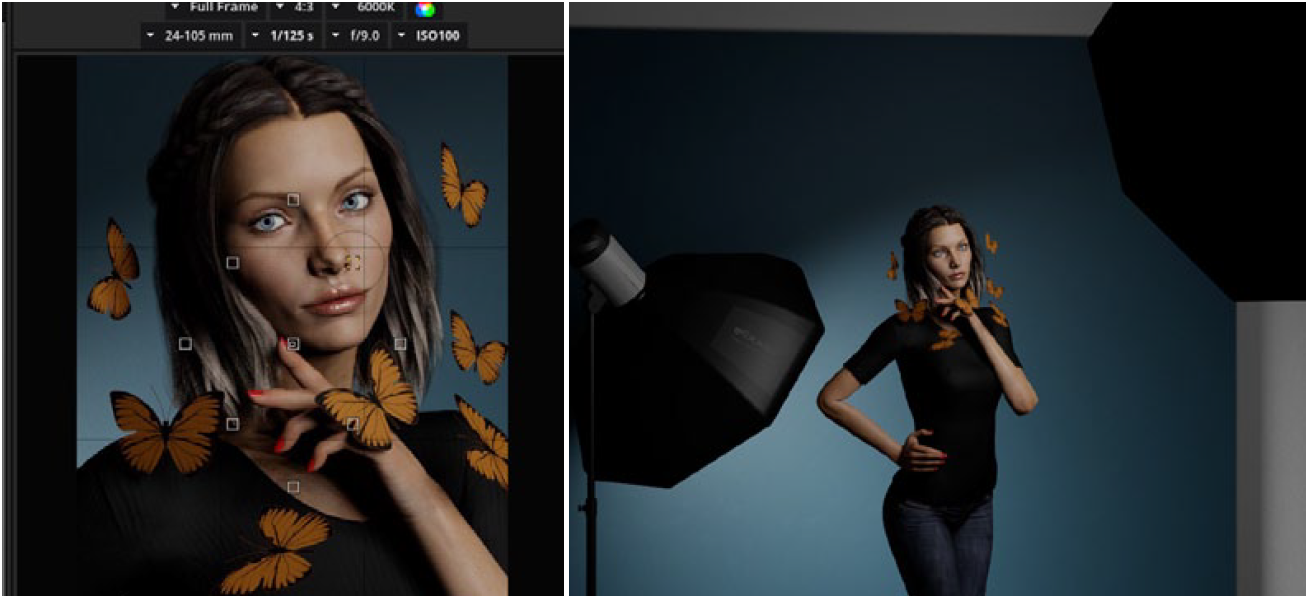
- If you want to plan a composing
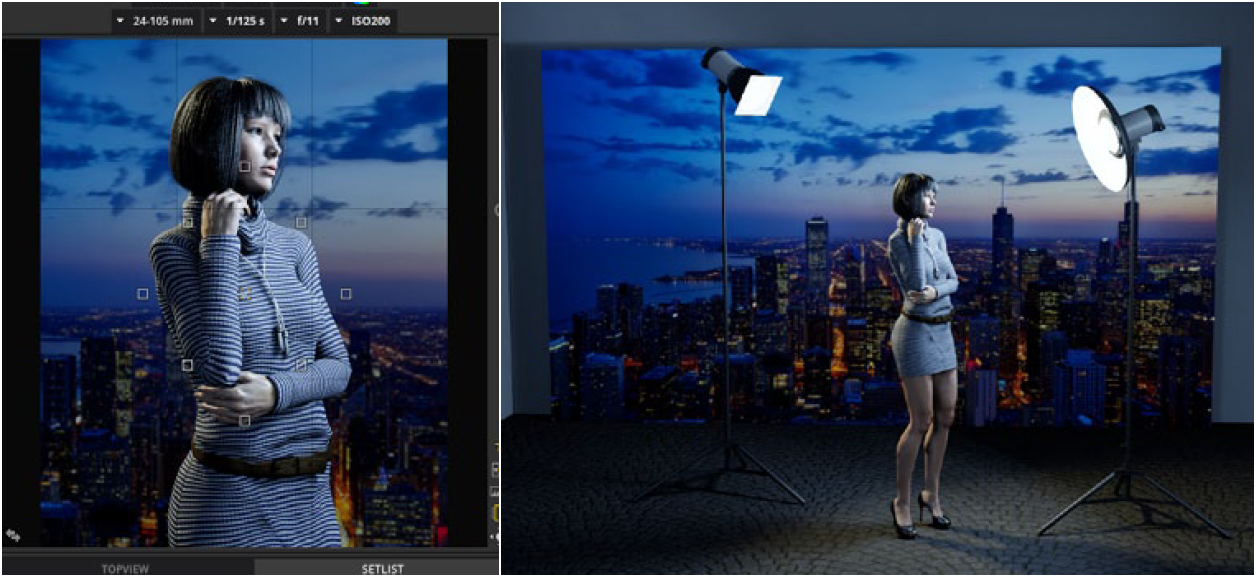
- If you want to place a mask in the set and flash through it
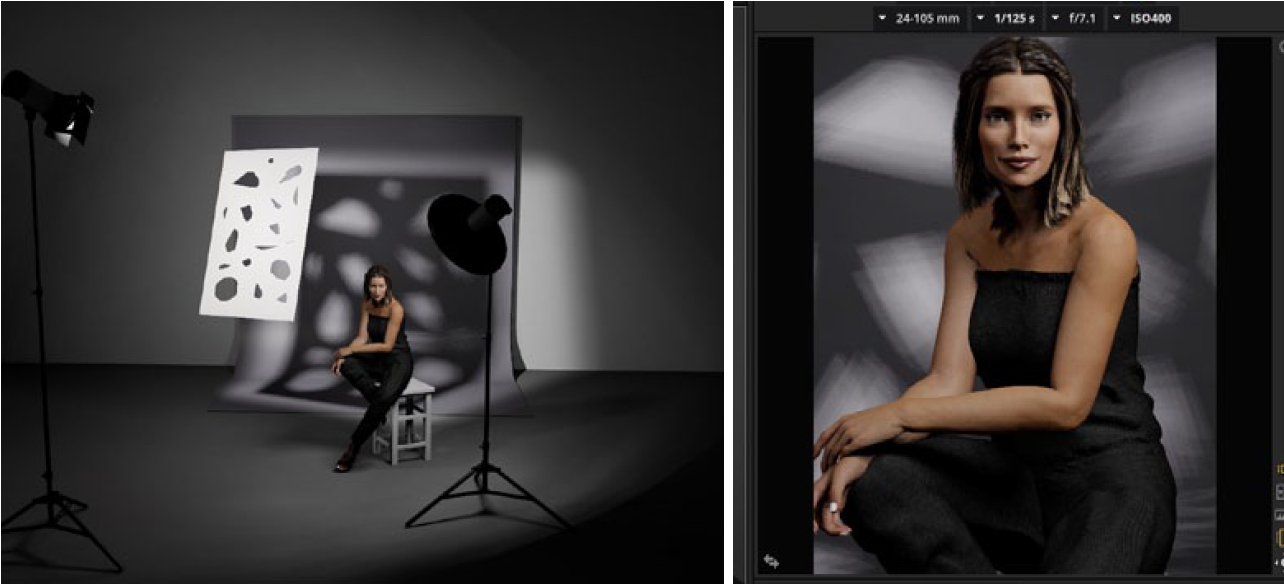
Possible file formats are JPG and PNG (PNG only STUDIO Edition)
* BASIC Edition: Only JPG files can be placed on the Picturewall. Up to 7 own Picturewalls are
possible.
Note: By using PNG files with transparency you can use
isolated images (e.g. a tree, pattern, person, clothing, object,
etc.). Images with transparencies appear similar to 3D objects
in the software and also cast a shadow.
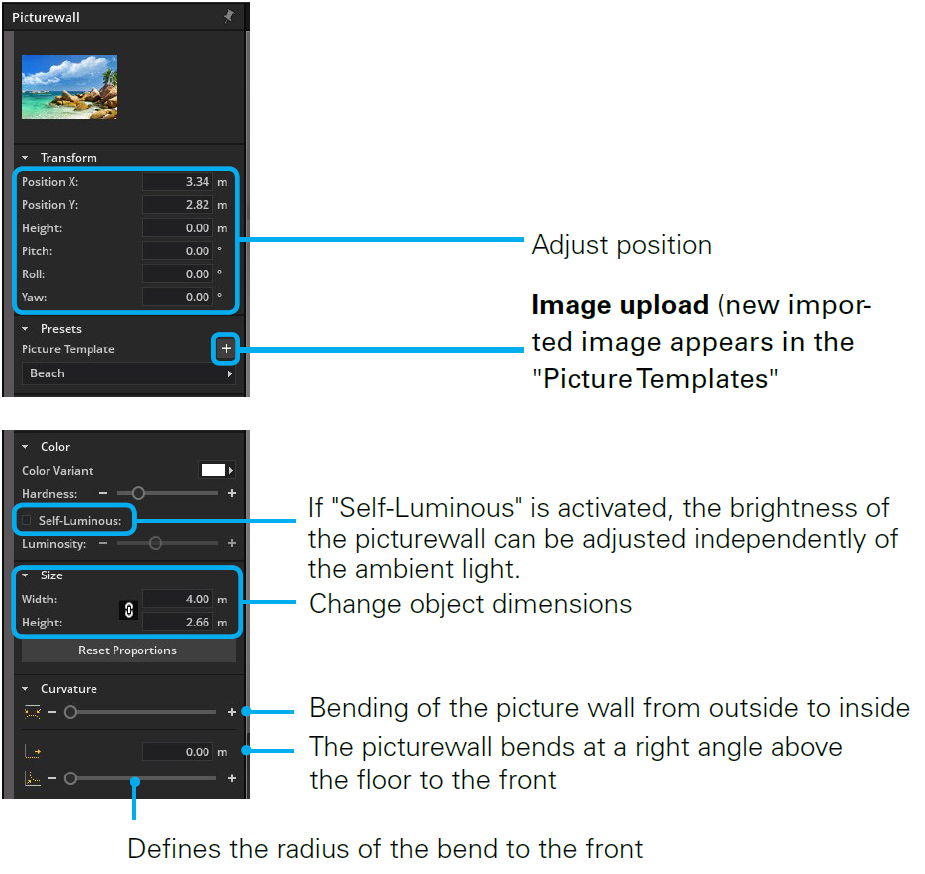
JPG on the Picturewall
An outdoor or indoor background can be simulated with the help
of the picturewall.
PNG with transparency on the Picturewall
With the help of the PNG picturewall, 2-dimensional objects can
be placed in the room, such as props. Images with transparencies
appear in the software similar to 3D objects and also cast a shadow.
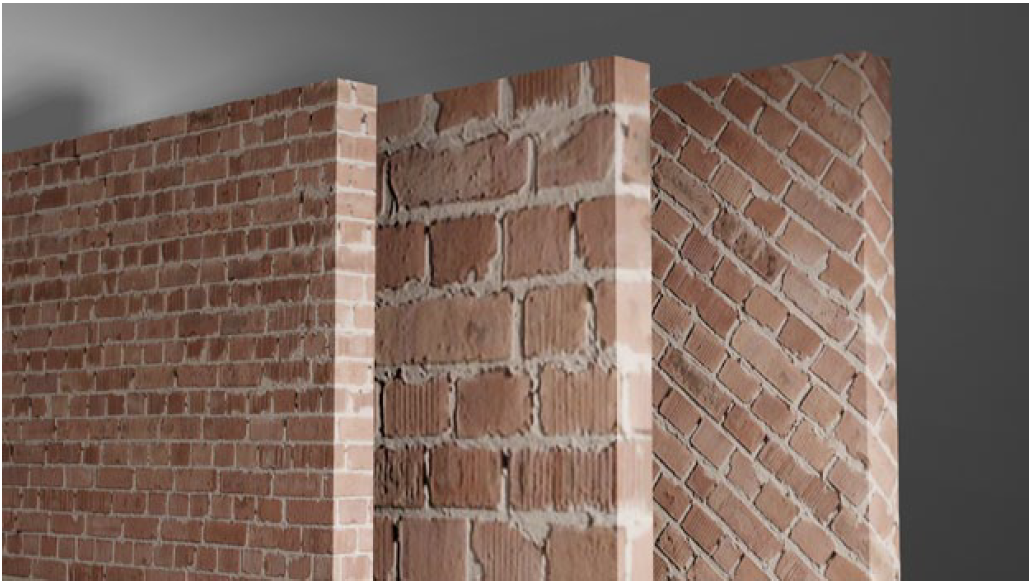
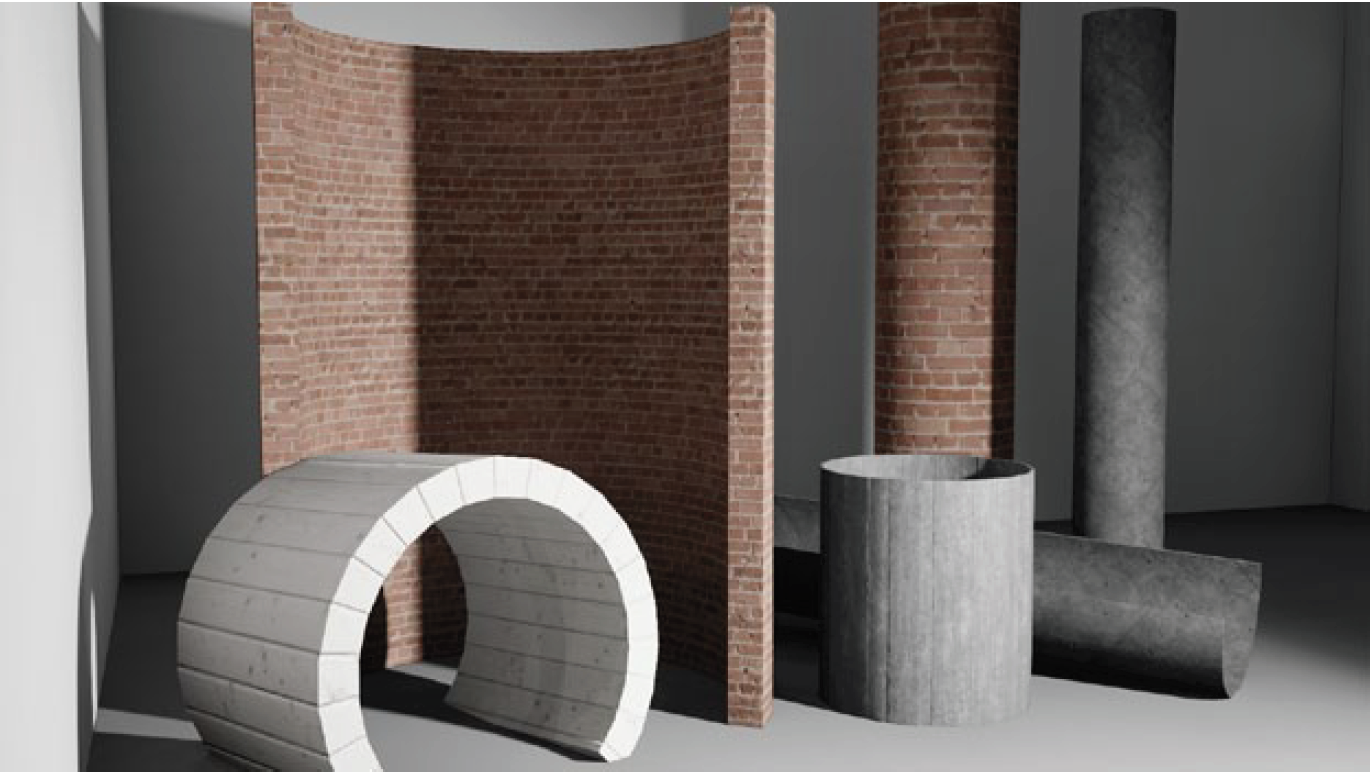
The Wall Element
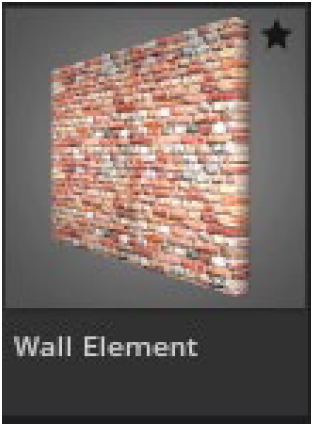
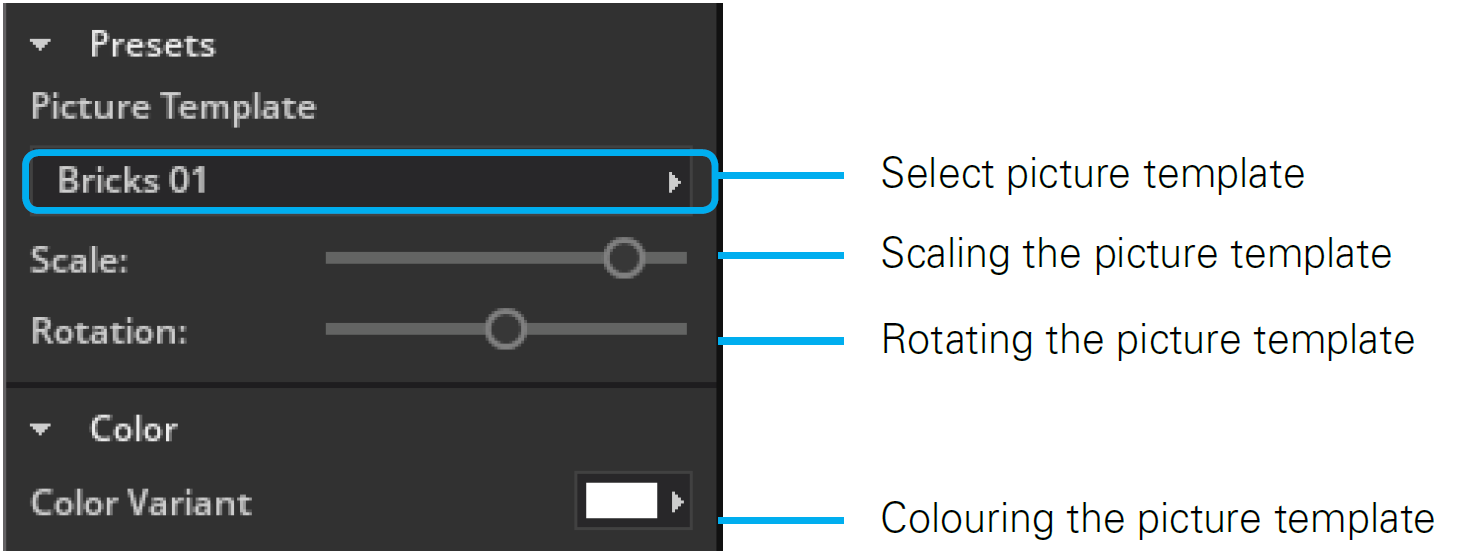
The wall elements can be found in the studio library in
the props tab. You can place it freely in the room as a
wall or floor element and change its shape. Choose
from different structures, such as wood or stone. You
can find these in the detailed settings on the left in the
picture templates.
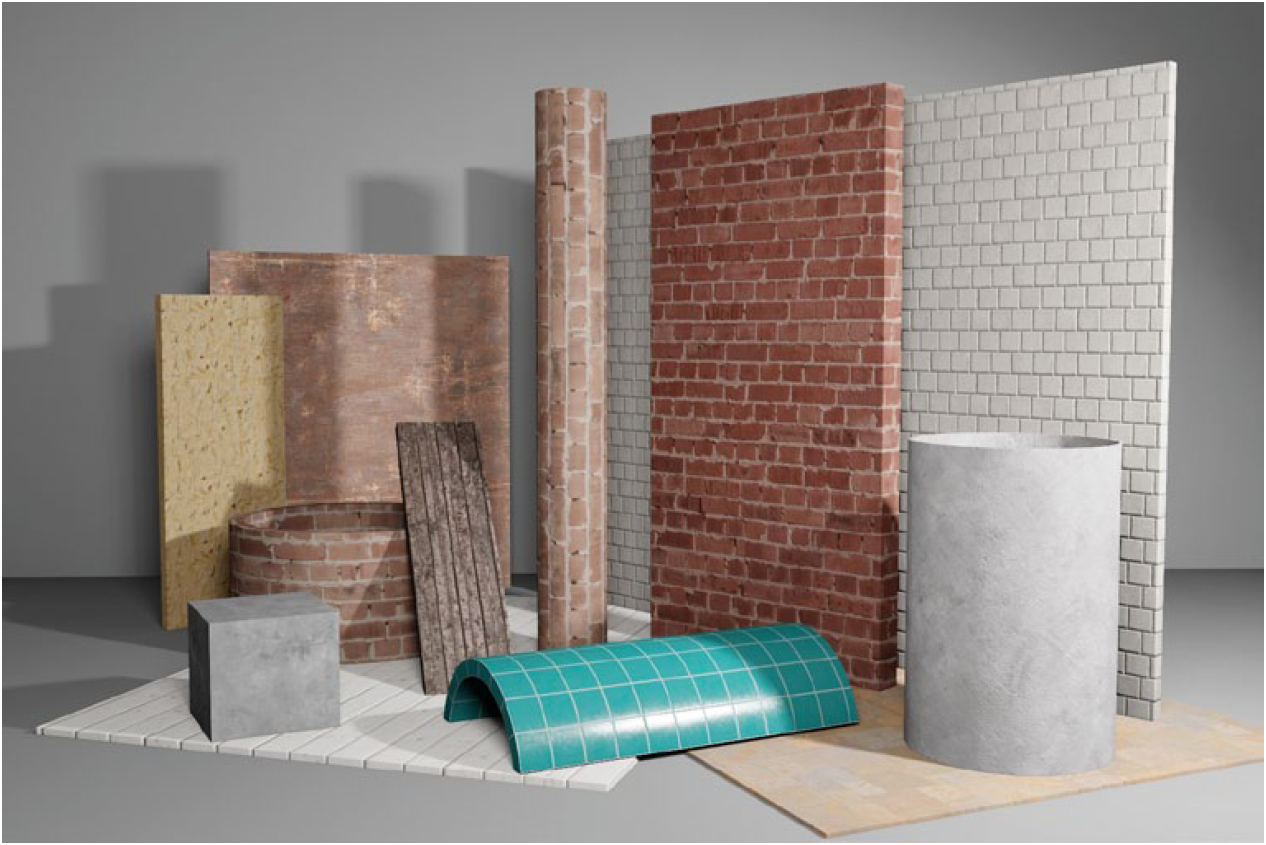

Examples:
Different adjustment of scaling and rotation:
These shapes were created using the bending function:

 English
 Deutsch
 日本語
日本語 简体中文
简体中文