 English
 Deutsch
 日本語
日本語 简体中文
简体中文
General camera settings

The virtual camera offers you all of the image-related setting
options you are familiar with on your real camera. For example,
the depth of field is also displayed correctly corresponding to
the selected optics, focus point and aperture. When you launch
set.a.light 3D, the camera is already in place on the set and cannot
be deleted. With the help of the yellow touch elements in the
studio you can move them freely in the room.
The camera quick menu in the studio area

Target lock
![]() If “Target lock” is active (yellow), the camera remains aimed
If “Target lock” is active (yellow), the camera remains aimed
at the focused object when moved around the studio area. If
the button is inactive, the camera remains pointing straight
ahead when being moved.
Tip: This function is very useful for being able to quickly test
different perspectives.
Setting options in detail
The preview camera at a glance
By default, the preview camera is located in the upper right corner.
It allows you an active control function over your planned
image. In the camera bar you can e.g. select the chip size or determine
the aspect ratio. Shutter speed, aperture and iso number are
also variable. Choose the optics of your choice. All settings have
a direct effect on the image, which you can see in the preview
camera in realtime. Motion blur cannot be displayed.

1. chip/crop factor
2. aspect ratio
3. lenses
4. shutter speed
5. aperture
6. ISO
7. white balance/Kelvin
8. colour/black-white
9. Snap-Shot
10. camera shutter release (rendering)
11. zoom control
12. current focal length
13. show/hide focal points
14. show/hide histogram
15. portrait/landscape format
16. align camera (trackball)
17. swap windows:
Preview camera/studio area
![]()
With the format changer you can switch between portrait
and landscape format.
![]()
Window changer – By clicking on this symbol, the preview
camera and the studio area swap places.

![]()
Show/Hide Focus Points – Click this icon to show or hide
the focus points in the preview camera.
Set focal point
Click on a focal point to select it or move the flexible focal point to
the desired position.

![]()
Show/Hide Histogram – Click this icon to show or hide a
histogram in the preview camera.
Real-time histogram

A histogram shows the number of pixels in a photo for each percentage
value of luminance. If the histogram extends from the left
side of the operating field all the way to the right side, then the
photo uses the full scale of tonal values. A histogram for which
the full range of tonal values is not used can result in an image of
low contrast.
A histogram consists of the colour levels red, green and blue.
Grey is shown when all three channels overlap each other. Yellow,
magenta and cyan are shown when two of the RGB channels
overlap each other.
-> Yellow corresponds to the channels Red + Green
-> Magenta corresponds to the channels Red + Blue
-> Cyan corresponds to the channels Green + Blue
Ein Histogramm besteht aus den Farbebenen Rot, Grün und Blau.
Grau wird angezeigt, wenn alle drei Kanäle einander überlappen.
Gelb, Magenta und Cyan werden angezeigt, wenn zwei der RGBKanäle
einander überlappen.
-> Gelb entspricht den Kanälen Rot + Grün
-> Magenta entspricht den Kanälen Rot + Blau
-> Cyan entspricht den Kanälen Grün + Blau
Over and underexposure
A histogram with a peak value at one of its ends displays a curtailment
of depth and light in the photo. The curtailment can lead to a
loss of image details.
![]()
underexposed image
The left end of the histogram presents pixels with 0% luminance.
![]()
overexposed image
The right end represents pixels with 100% luminance.
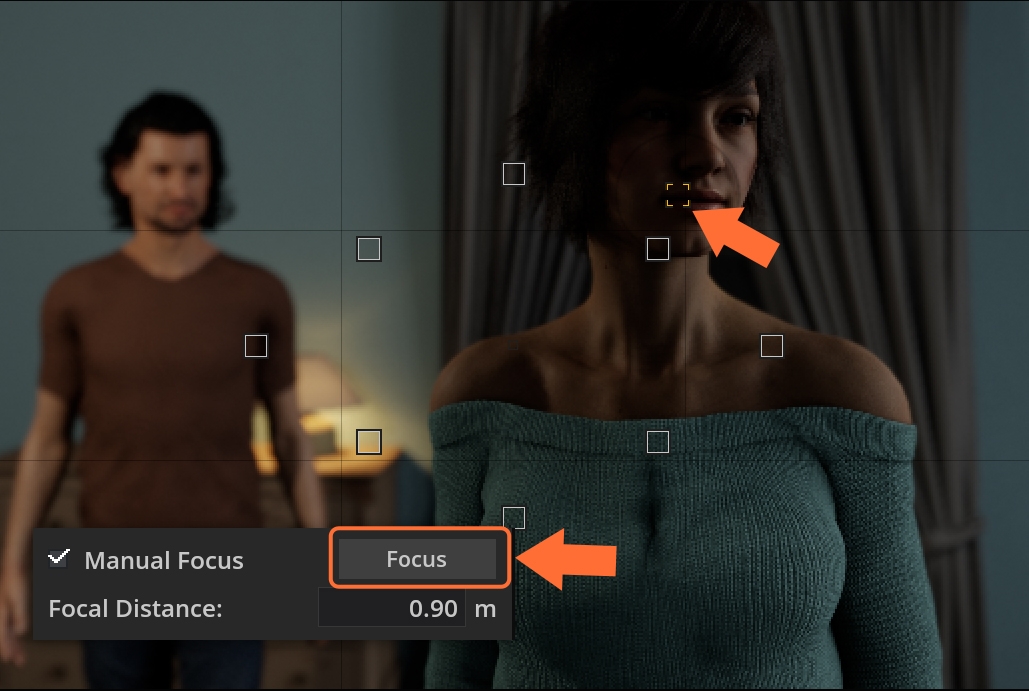
Manual focus of the camera
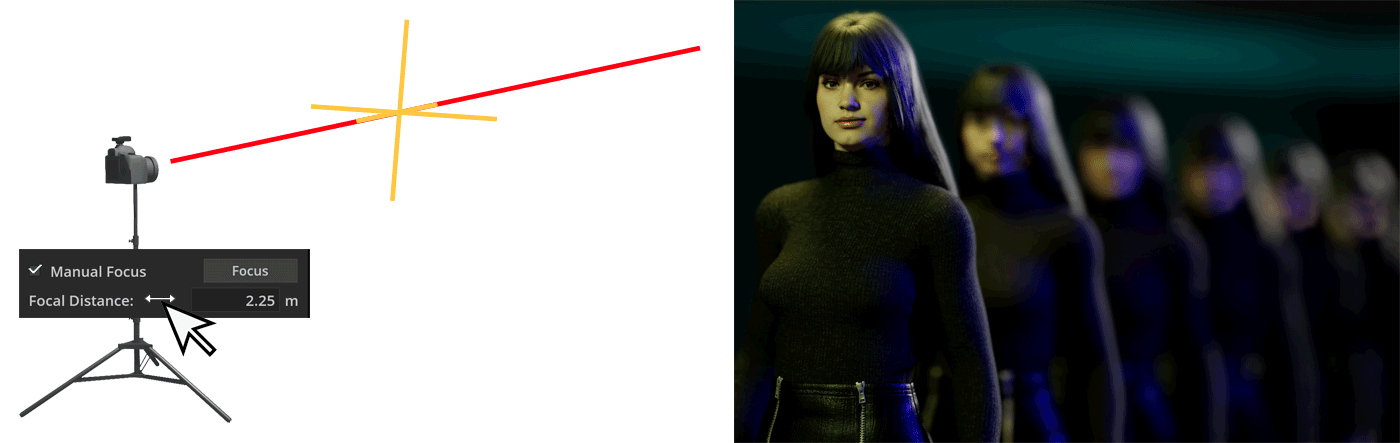
Previously, the focus could be set automatically using the focus points in the preview camera simply by placing the focus point on the desired object.
Now the focus can also be defined manually in the detail settings of the camera. 🙂
Activate the manual focus here:
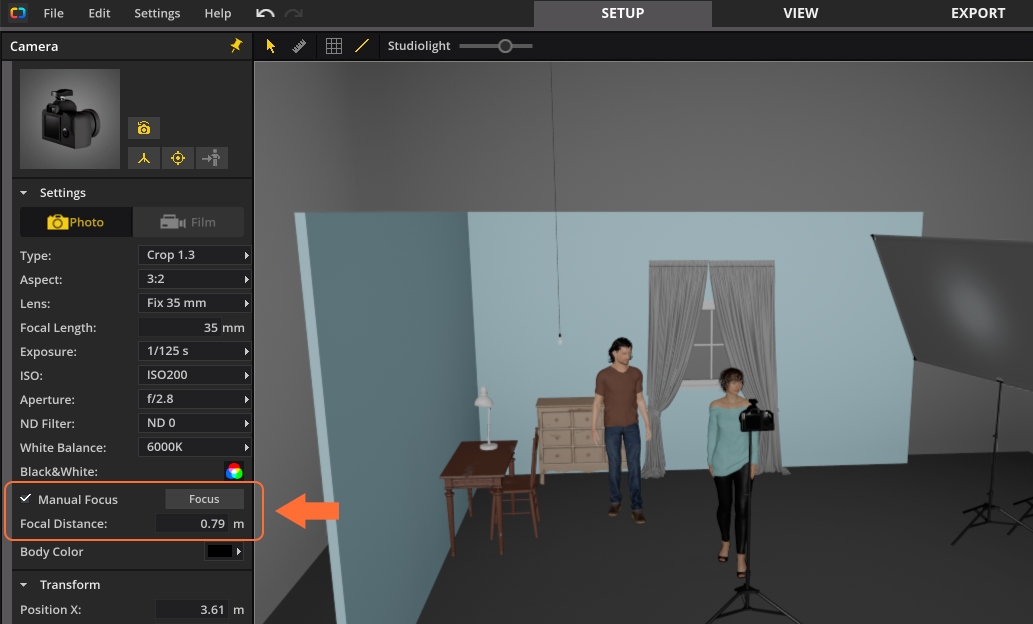
You can now set the focus distance individually. While you change the distance, the yellow crosshairs in the studio area shows you the focus plane.
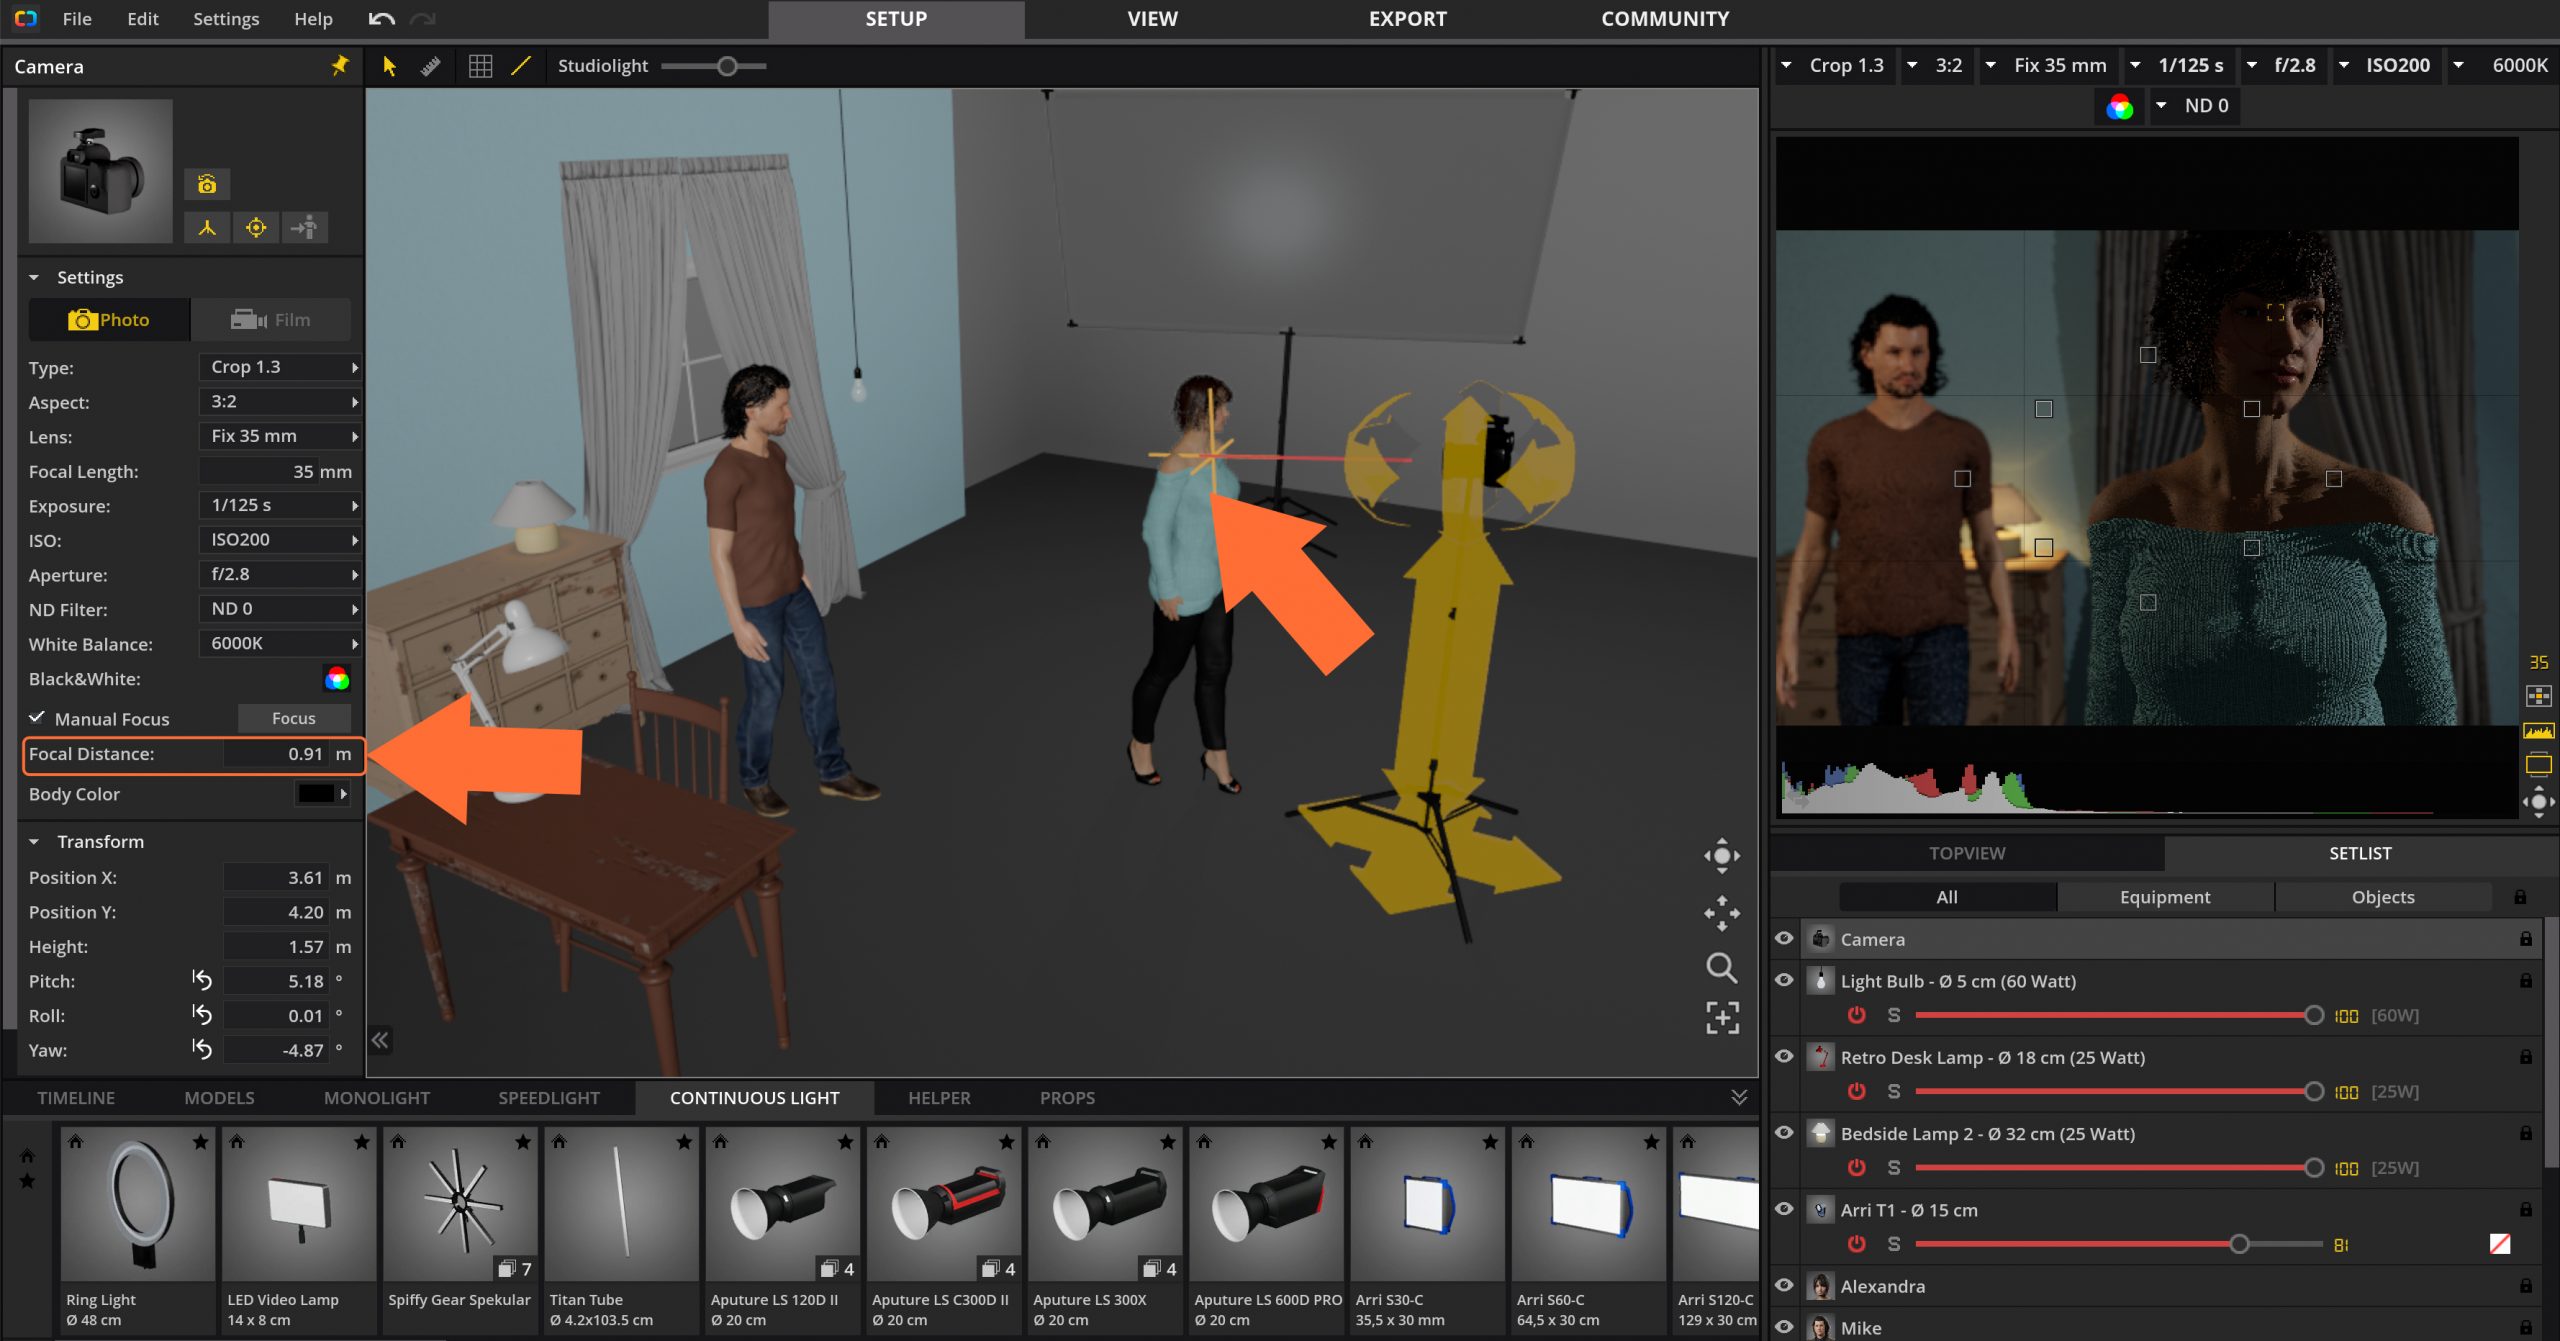
(If you don’t see the crosshairs, make sure that the “Laser pointer” (Menu bar → Settings) is active).
When you click the “Focus” button, the focus is automatically set to the focus point selected in the preview camera.
Snap and render a photo
![]()
When hovering over the camera window,
the two buttons “Snap” and “Render” are
displayed. Alternatively you can find them
at the right end of the Timeline.
The Shutter release (Rendering)

By clicking on the “Shutter release”, a photo is rendered directly
and is displayed in the “VIEW” module. This results in an image
that includes all reflections and influencing factors of the light calculation.
The image is automatically saved in the Timeline and on
the PC/Mac as JPG in the folder for the corresponding shooting.

Tip: By clicking on the button “Open Picture Directory”
you can go directly to the rendered image on your hard disk.

Tip: You can also start the camera trigger process with the
shortcut “Ctrl + Enter” (Windows) or “Cmd + Enter” (Mac).
Make a Snapshot
![]()
If you want to save your lightset in the Timeline without starting
the render process, click the “Snap-Shot” button. You can continue
working directly and render your snapshots later.
Each image taken with the camera is stored in the timeline with
the corresponding setting and can be recalled at any time.

Tip: You can also trigger a snapshot with the shortcut “Enter”
(Windows + Mac).
Studio Topview

The Studio top view gives you control over your set and all the
elements placed in it at all times. As in the studio area, the elements
can be selected here and moved around.
Tip: If you have created a complicated lighting set and cannot
click on individual objects directly in the studio area, then the
studio top view offers you a quick remedy.